Showing posts with label nails. Show all posts

Monday, February 2, 2015

Mani Monday!


WHOA! Can you believe it? Another Mani Monday post! I may take a break next week though, my nails are looking pretty rough under that polish. 
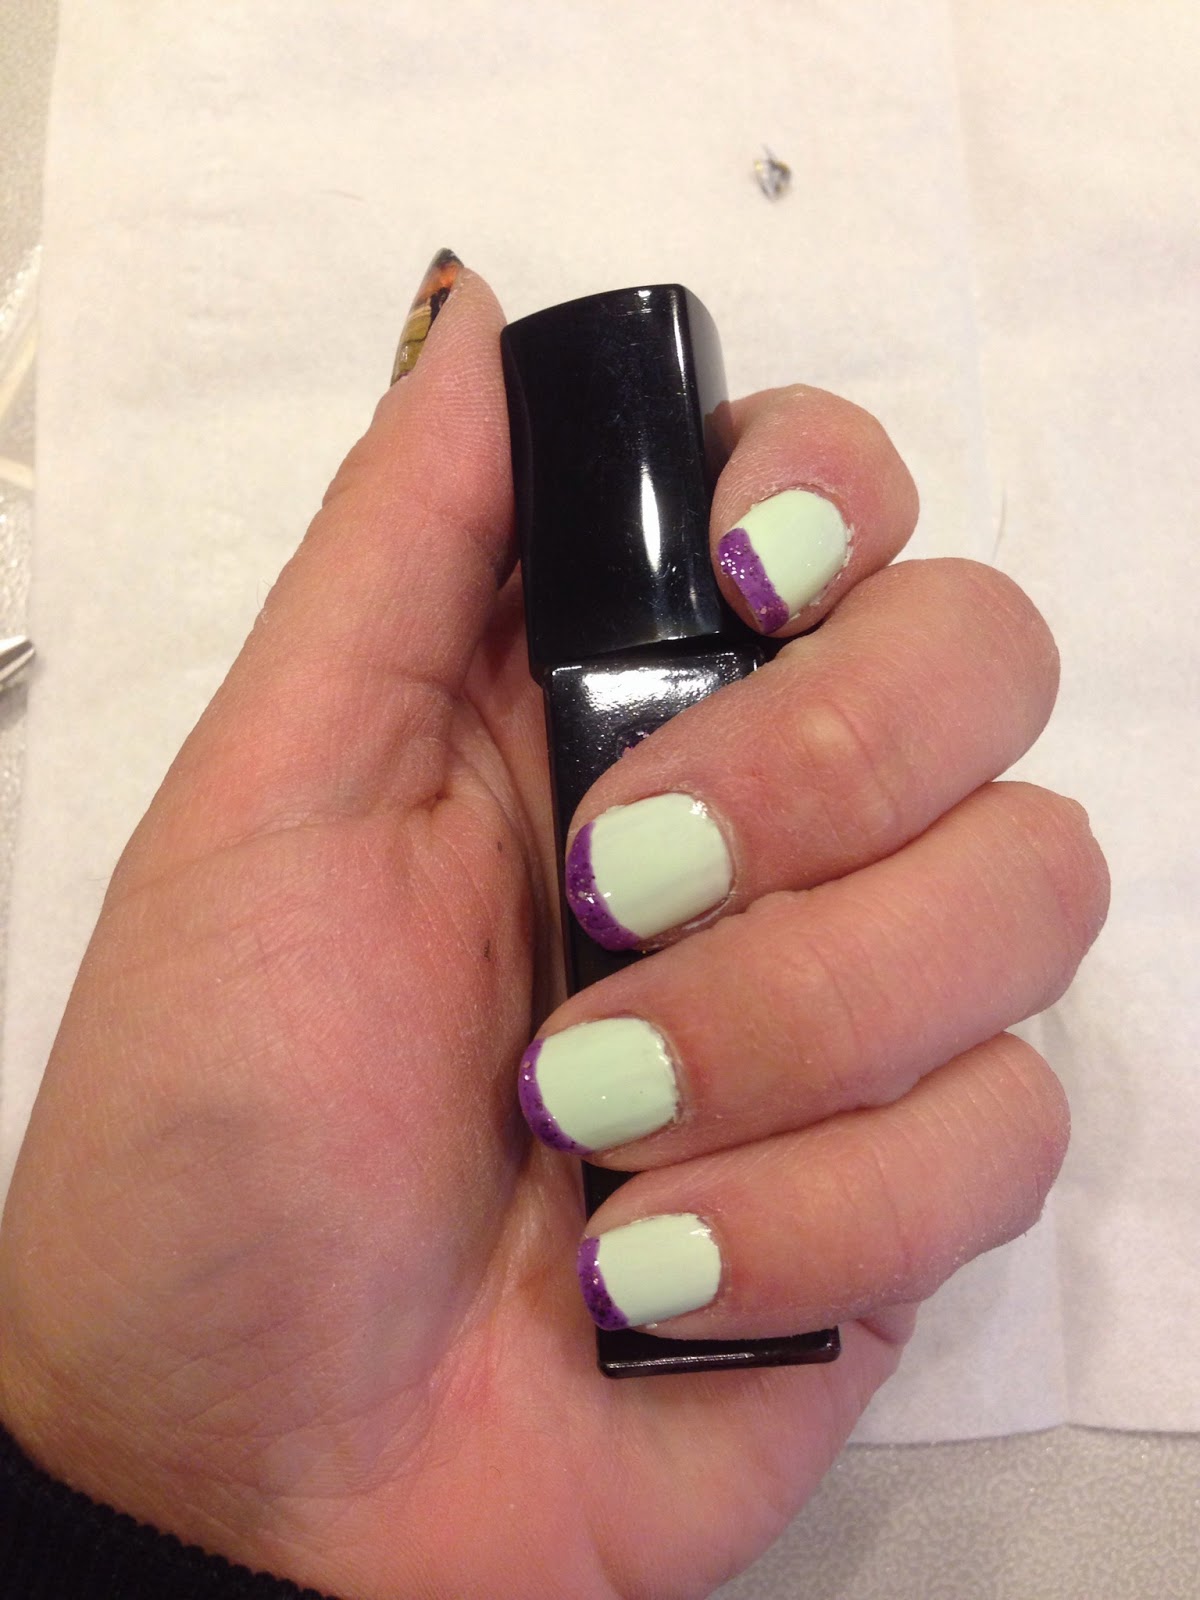
So anyway, I had an awards banquet on Saturday night, and I needed my nails looking fancy and a little horsey. I actually had a slightly different manicure planned, but it turns out, that purple glitter wasn't in a clear base. Oops.
Here is the dress I was needing to match:

It's a little tough to see in the photo, but the dress is a very pale mint green with a silver tulle (I don't know how to spell that...) and purple/bronzy sequins. I had wanted to do mint nails with purple glitter done as a gradient, but it wasn't to be! Purple tips worked too. I also used the Jamberry nail wraps you've already seen as accents. Rio on the left thumb, and the horses on the right middle. Here are more pics:


I started as I normally do with Nailtiques as a base coat. The mint color is L'Oreal Mint Glacee. I wasn't in love with it. It took three coats to get full coverage and still was a bit streaky. It did dry fairly quickly though. The glitter is Julep Aviva. It's a great color and I think if you did the entire nail it would only take two coats for full coverage. I finished off the mani with the Sally Hansen Miracle Gel Top Coat. 

What's on your nails today?

Friday, January 16, 2015

Crafts and nails, OH MY!

Now that it's winter I have time to do all kinds of things other than just ride horses and go running. (Though I'm not doing either of those things which is not good for my waistline. Oh well.) I recently found some adorable beads on the Goody Bead site that I just HAD to string. I decided to make bracelets specific to each of my "kids" and one for me too! You can see them stacked all together above. I also made a few others. Let's take a look!

Rio's Bracelet

 When Rio first moved to the US he really only responded to two words : Handsome and Cookie. So it seemed appropriate to have a cookie on his bracelet. Plus some apples and first place ribbons of course. For all of the bracelets, I used my farm colors of hunter green and tan. Though I substituted gold beads for tan since that's more fun.

Jamp's Bracellet:

 Jampy has this habit of holding his head really high and making strange faces, so he earned the nick name Jamposaurus rex. I was so excited to find T-rex beads for his bracelet!

Ducky's Bracelet
 I think his is pretty self explanatory... Rubber ducks of course!

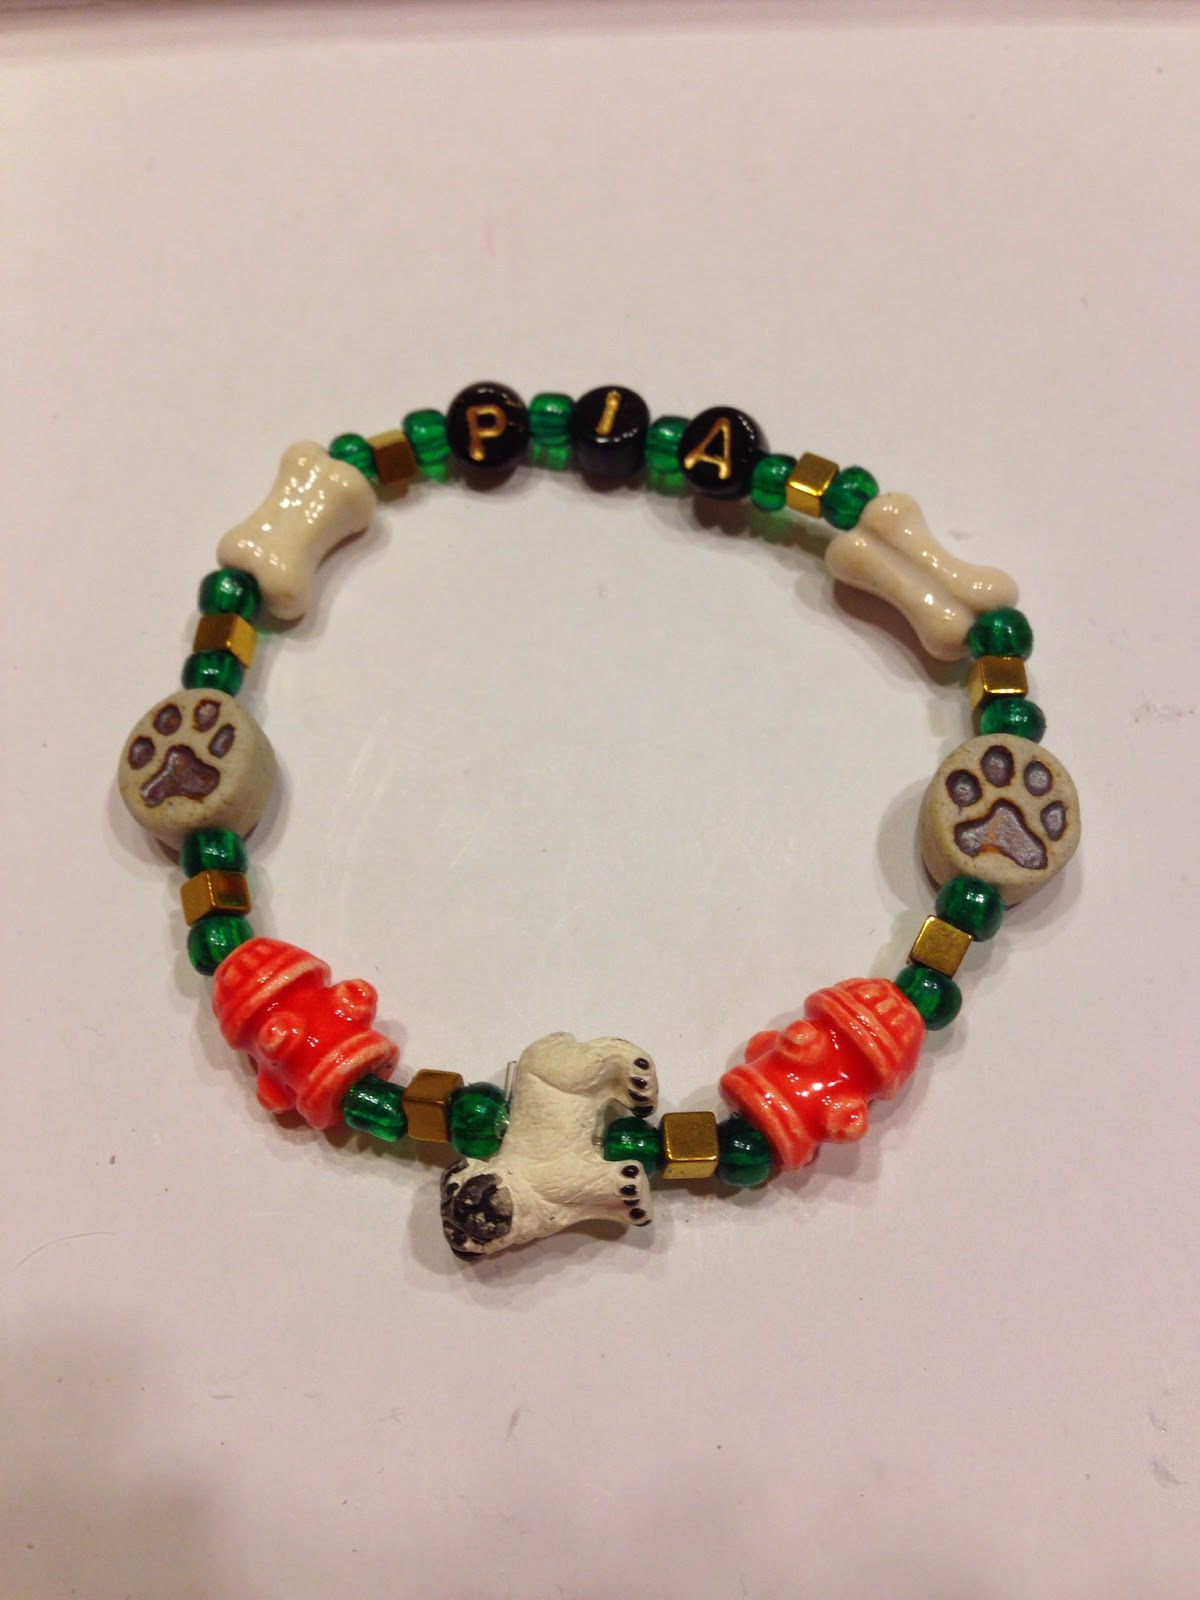
Pia and Artie's Bracelets:

 Their's are both the same. Not very creative I suppose, but they do have the same interests, so I don't think they'll feel slighted.

My bracelet:
Pugs, Ponies, Ribbons, and French Fries! I'd say that sums me up pretty well.

Others:
 These lapis beads look SO PRETTY with my trusty watch. If I wasn't afraid of breaking it, I would wear this combo every day.

Chanukah Bracelets:

 I made one of these for me, and one for my mom. They're adorable and festive!

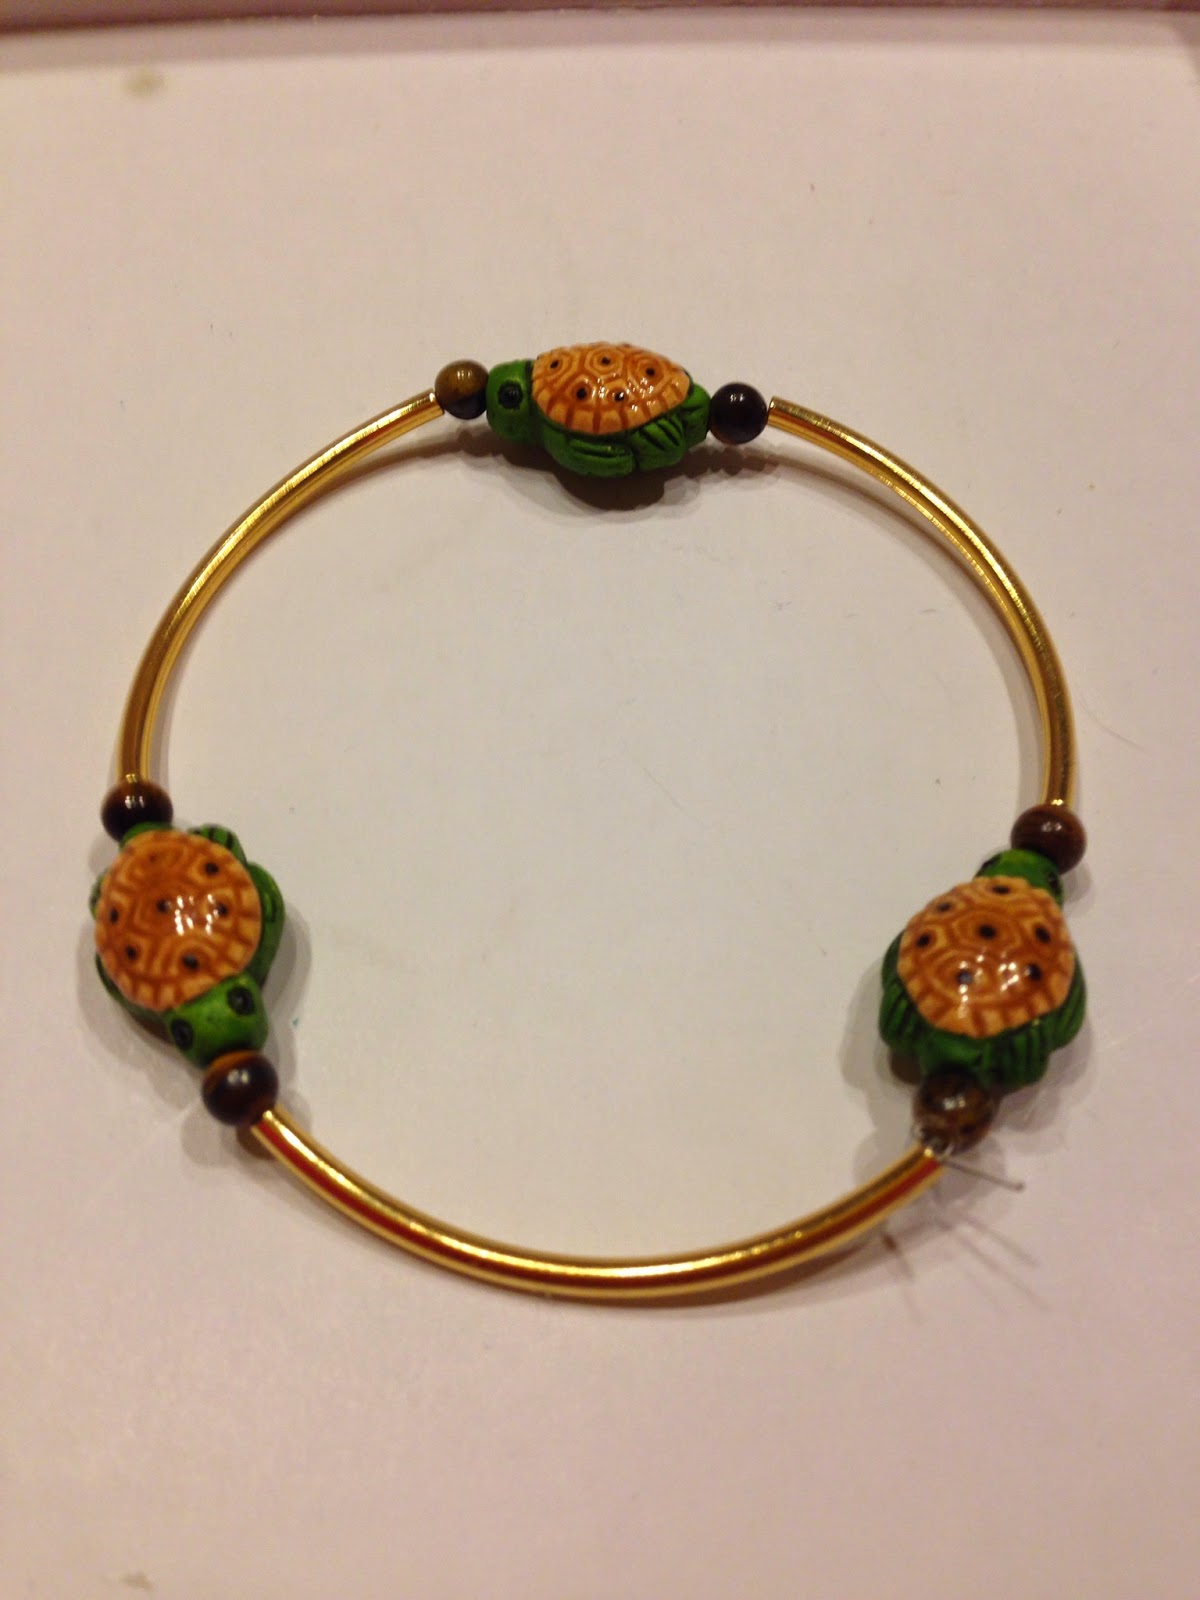
Turtle bangle:
I have a similar bracelet that I bought ages ago using ball beads in between the tubes. I thought to myself, hey, wouldn't that be cute with turtle beads? Why yes, yes it is!

Besides crafting, I like to try and do my nails on occasion during the winter. Since I'm not regularly bathing horses and cleaning tack, they don't chip and look awful quite so quickly.
This past week, a friend of mine hosted an online Jamberry party. It's similar to hosting a tupperware party, but instead of kitchen goods, it's nail wraps! What a great idea! The neat thing about Jamberry is that you can also custom design your own wraps, aside from choosing one of the many stock options available. I ordered one sheet of a stock print and also some customs. The customs haven't arrived yet, but I will be sure to show you when they get here! I tested out my stock choice as accent nails last night. Let's go see the man!


 The wraps have little horses on them! I know you're shocked that I would choose the pony print... I know, I know. I'm so predictable. Whatever, how cute are they?!
My other nails are sporting a gray color from Maybelline Color Show called Audacious Asphalt. The glitter top coat is from OPI and it's called Where's My Blanket. (If someone can explain that one to me, I'd appreciate it! They always have cute names that relate to something, but this one is lost on me.) The glitter topper has black shreds with pink and mint hexes mixed in. Super cute!

 So that's what I've been up to in my spare time. That and cleaning out the closets... I'm up to 8 bags of purged items!

How are you spending these cold evenings? Doing any crafting? Are you braving the elements and getting your miles in? Riding in an indoor somewhere? Tell me what you're up to!


Thursday, August 7, 2014

My first Influenster box from Sally Hansen® Miracle Gel™!

Awhile back I signed up for Influenster but didn't really think I'd ever qualify to try anything out... Well low and behold, I was chosen to try Sally Hansen Miracle Gel polish. The polish was complimentary in exchange for my testing it out and sharing my thoughts with all my favorite readers! (I apologize in advance for my dark photos, I'm having some lighting issues in the living room..)
So without further ado... Let's take a look!


I was a little not that excited to get a bright red polish, but when you get something free to try, you don't whine about the color! Plus it's called Redgy so that makes it more fun. (Get it? Red + Edgy= Redgy!) Anyway, here's the deal with this polish and why it's different and better than normal polish: Much like a gel manicure, it's supposed to last up to 14 days. The difference is, you don't need to sit under a light to cure it, and you're supposed to be able to remove it like normal polish. Those of you unfamiliar with gel manicures... they are TERRIBLE to remove! I just did this mani quick tonight, so I can't comment just yet on durability or the removal process, but check back in a week or two and I'll let you know!

This is a two step process. Step 1: apply two coats of the colored polish. Step 2: apply topcoat.  Sounds simple right?! I gotta tell you... it's that simple! Let's go through it step by step:


I was really happy when I opened the bottle to find this brush inside. It's wide and flat with a curved bottom. This shape makes it super easy to paint your nails both neatly and quickly. I managed to keep the majority of the polish on my nails and off my cuticles. WIN!
Here's the first coat:

As you can see, the polish covered quite well with one coat! I almost didn't do the second one, but figured it I'm reviewing a product, I really ought to follow the instructions. Also, it's dark in here and there might be lines I can't see. So here's the second coat:


I was impressed with how smoothly the color went on. I really didn't see lines or brush marks. Dry time was reasonable. I didn't pay close attention to how long I waited between coats, but it wasn't too long. I think I should have given it a few more minutes before applying the top coat though, as some of the color came off on the brush:


Oops. Thankfully it didn't mess up my paint job. The top coat dried quickly. Here's the finished product:


I apologize for the semi-terrible mani job. I'm not a professional polish junky, just an amateur! So far I'm impressed with this Miracle Gel Polish system, and I'm really looking forward to seeing how durable it is. I'm sure I'll give it a good test with the horses!

If you'd like to try out Sally Hansen's Miracle Gel Polish, it's available at most drug stores and Walmart. If you try it, let me know how you like it!

Thursday, March 27, 2014

Thursday's Threads


I've pretty much given up. I mean, it's never going to be Spring here. Not for longer than a day. So today my friends, I went for comfortable and warm. I'm talking grandma sweater comfy. Let's take a look shall we?


Told ya. I actually love this sweater, despite its grandmotherly appearance. I mean, how do you not love a GIANT ZIPPER?


Exactly. Plus the sweater IS pink, so you really can't go wrong there.


The pants are shiny. I feel like that makes up a little for the grandma sweater. Shiny pants trumps matronly. Truth. They are by Seven Jeans, and I got them at Loehmann's before they went under. (Loehmann's I miss you already!)


I decided, in keeping with the GIANT ZIPPER theme, to wear some black booties with a slightly less GIANT ZIPPER. (See what I did there? Playing with fonts is fun.) They are from Steven, which is Steve Madden's more upscale brand. Although my pair came from Loehmann's so they didn't cost me an arm and a leg. (Seriously Loehmann's, I'm not sure how I'll survive without you).


Arm Party time!
Left has on stretchy rhinestone bracelet from Express (it was part of a stack, but I split it up), a chain bracelet from T&J Designs that I got awhile ago from Little Black Bag, and of course, my favorite watch.
Right is wearing a thin beaded bracelet from Nakamol (also from LBB), a little rhinestone cuff that I can't remember if I got from Julep or Baublebar, and a rhinestone/chain bracelet by Punch (another LBB find!).


I also finally did my stubs nails! And they totally match my grandma sweater. WIN! Ok, maybe not entirely an accident. Anyway, the under polish is by Pantone Universe from Sephora and the color is Purple Wine. I have a glitter coat over top from Zoya, called Kissy. Kissy has ultra fine magenta glitter and longer silver holo shreds. I love them together! On my accent nails are wraps from NCLA. I think they were called Hollywood? They're some kind of crazy art deco take on the 100 dollar bill. Super cute!

So that's what I'm wearing today! What about you? Is it actually Spring where you live?

Monday, March 17, 2014

Mani Monday

Since Sunday was winter once more, I had time to prepare for Mani Monday again this week! I know you're super excited. This week I'm trying to force Spring with my mani. If I paint it, maybe it will come?


You'll have to excuse my stubby little middle nail... He had an accident. Anyway, today I used Julep Denver as my base coat and Julep Antonia is the pretty pink glitter top coat.


I was pleasantly surprised at how well Denver goes on. It's not a very thick polish, but the color goes on really well. Two coats were full coverage with no brush marks or anything.
On the contrary I was kind of disappointed with Antonia. In the bottle it looks like a total glitter bomb. See?


But when you apply, it goes on very thin, with just a few tiny pieces of glitter left behind. I had to really fish for the larger glitters. It took about three coats to get a decent coverage. I do love the look though, just a little bummed out by the formula.

What do you think? Do you have anything springy on your nails today?

PS: Head on over to Facebook and like Amateur at Large!


Monday, March 10, 2014

Mani Monday! And some new jewels

So it's snowing today... Which has nothing to do with my post, but I felt you needed to stay informed of the weather here.

Now that you're an informed reader, on to the fun stuff! I really can't promise Mani Monday being a regular thing, but I'm gonna give it a go. This week's mani is in honor of the upcoming St. Patty's day:


Sorry the photos aren't great. The glitter in this polish is SO SPARKLY I can't get a decent photo. The base is Avante Green by Maybelline Color Show. The glitter top coat is an indy brand, called That One Nail Polish in the color Ranger. There is SO MUCH GLITTER in this polish you get full glitter coverage in one coat practically! I did two just to even it out a bit. The accent nail is a wrap from NCLA. It's supposed to be a cheetah print. I'm not sure I love these wraps all that much. The NCLA brand tend to last in that they're pretty durable, but they are thick like paper. They're more difficult to apply and always seem to have a bend in them. I prefer the Sally Hansen wraps which are more like actual polish. They are easier to apply smoothly over the nail, though a little tricky to handle. NCLA has some really fun prints though!


So I KNOW you're dying to know about my new jewels. Especially since I'm not supposed to be shopping. Well fear not my friends, all of my new jewels were handcrafted by me! I'm not riding yet since my ring still looks like this:


So I have plenty of free time on the weekends. Especially since Katie and I got our long run in on Saturday. I did spend some time outdoors (since it was almost like Spring) with the doggies but after Artie got loose I decided to head back indoors.


The house was pretty clean, and I am trying not to snack out of boredom, so needed something productive to distract me. I turned to all the bead projects I haven't done. I got a lot accomplished!

Neon Necklaces:


 Pretty heart bracelet:

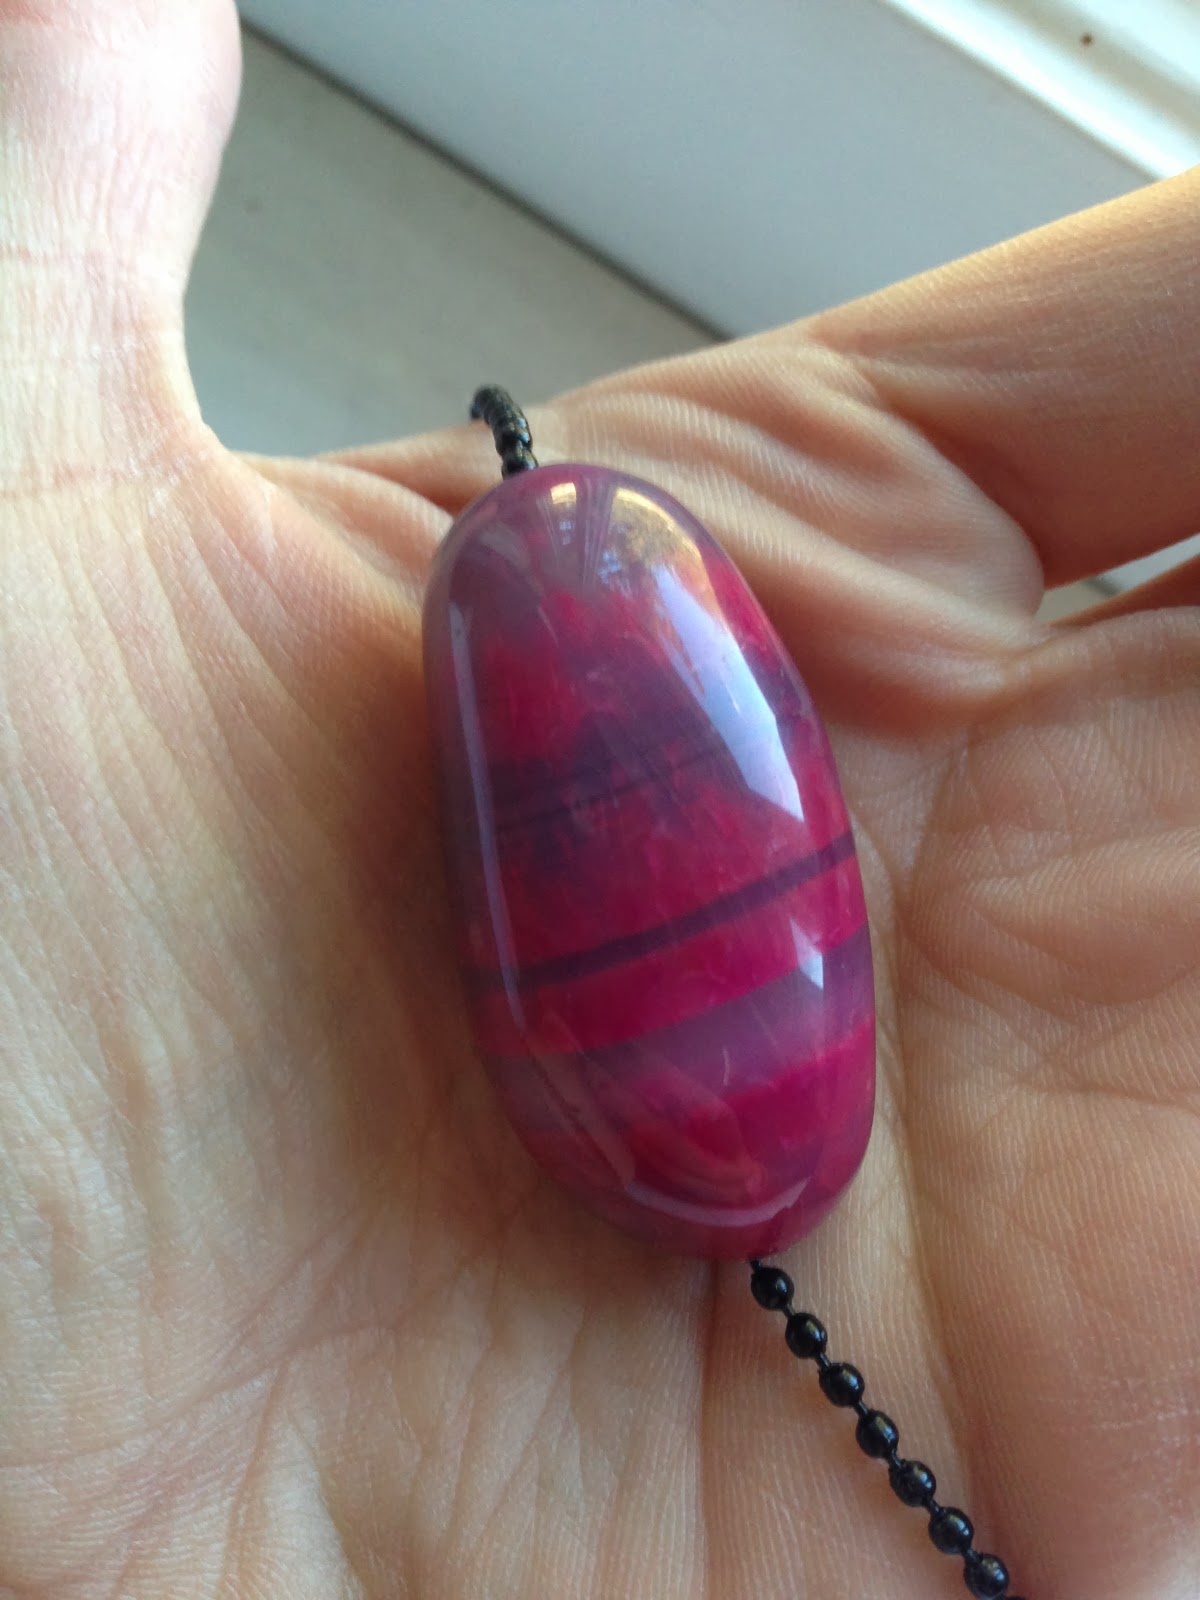
Giant stone necklace:

Close up!

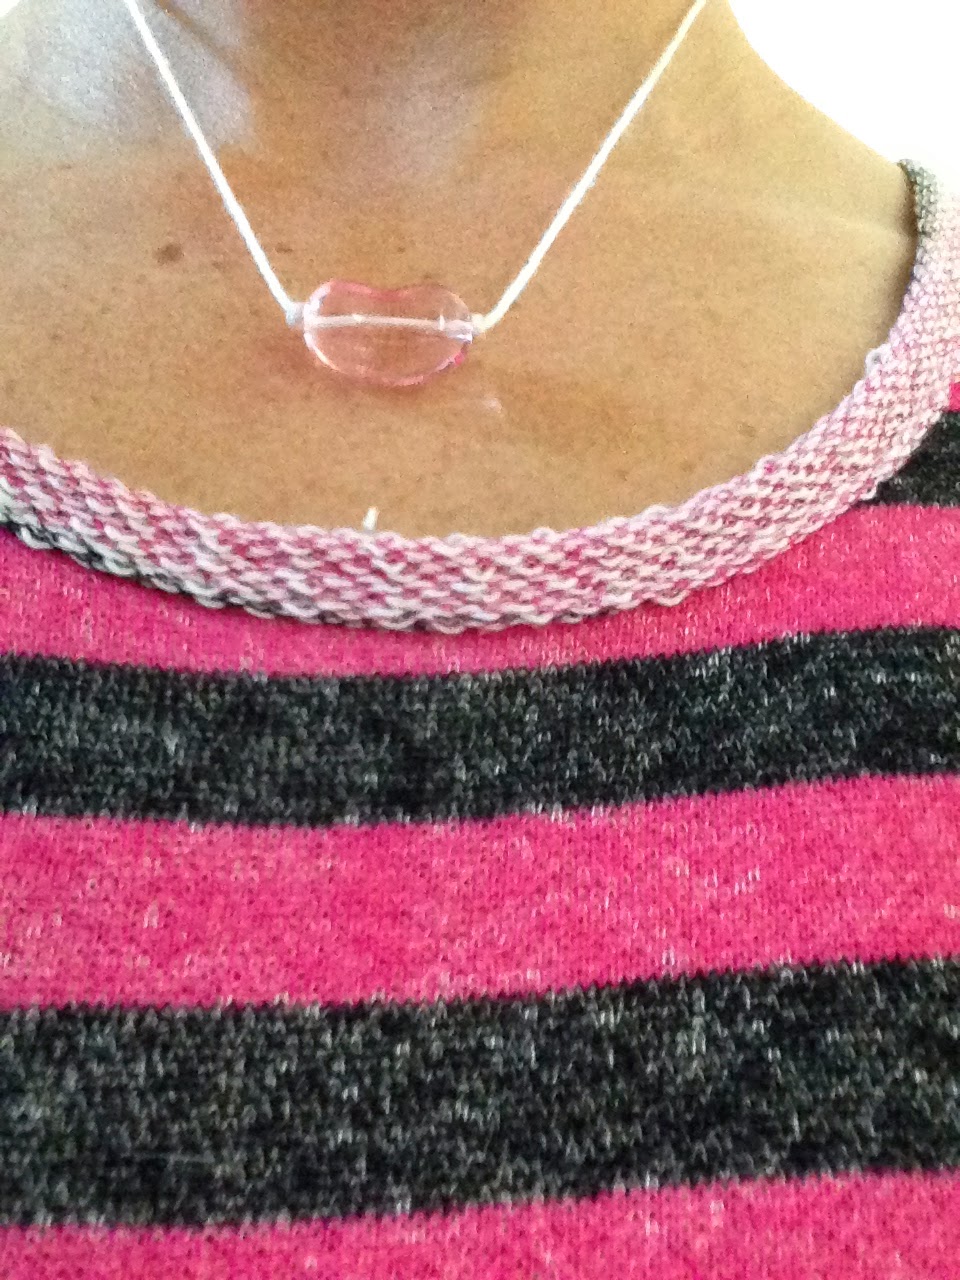
 Jelly bean necklace:

Pug Jewelry:


Adorable Doggy Key Chain:


And then I decided each of my four legged kids needed a name bracelet (for me, not them):


 Fun right?! I know the name ones are a little silly with the giant wooden letters, but I really love them. I like the natural stone beads with the blocks, it makes them a little less second grade crafty in my opinion. The green and yellow also have stone beads though they look wooden in the photo.


What's on your nails today? Do any crafting this weekend? Leave some love in the comments section below!