Showing posts with label braids. Show all posts

Wednesday, September 13, 2023

What's Up Wednesday


We're going to start with Al this week because he has many storylines. So many stories, especially for a short amount of time... Oh Al.... 

Who me? -Al (Probably)

My farrier and vet finally had a chat about what to do with Al. Though neither convinced the other of anything in particular. So basically my vet told my farrier, "this is the issue, I'll let you choose how to proceed." Which is nice because my vet obviously trusts my farrier to make good choices. Obviously I do too, or he wouldn't be my farrier. But still. It's nice when everyone believes in each other. The final decision was to put shoes on behind, keeping in mind that heel needs to stay open and not creep upwards again. I liked this decision because I don't mind having shoes on him, but I was really anxious about shoeing the fronts now that the quarter crack has finally grown completely out. So Saturday he got a trim up front and shoes on behind. But let's not get ahead of ourselves...

Doc was at the boarding barn Friday when I was there riding in the morning, and I popped on down the aisle he was working in to grab some med refills. He asked how Al was doing and said if he's feeling good we can pop some small jumps and see how he does. So obviously I did that immediately when I got home. He was so happy to jump again! We went over maybe five jumps total, mostly 2' and one 2'6". 

He felt just fine when we back to the trot afterwards, so I felt good about our session. Saturday, as mentioned, he got his new shoes put on. We just did a light flat so he could get used to his new feet, but all felt just fine! We did the same on Sunday. Monday he had off, and Tuesday he had a very short ride since we were busy being models. (More on that later.) So today was the first ride I really got to feel how he was doing with the shoes on. And he felt great. I'm feeling optimistic we're on the right path. Hopefully we'll get to jump around a little tomorrow. 

But none of that is the most exciting Al story of the week... (Those were the highlights. The most exciting story is more of a lowlight.) Monday morning, I get a text from my helper while I was being lazy and catching up on some lost sleep. Apparently, Al had gotten loose and was running up and down the street. THE STREET. Effing horses. So I threw on some jeans and ran out there, but apparently my helper didn't text me until after he had caught Al and had him safely back in his stall. Hopefully if that ever happens again, he either lets me know asap so I can help OR tells me in the text that the horse is caught. Would save me some panic. Anyway, I was about to lecture my helper (again) about why it's so important to keep the gate closed... when he showed me that Al had somehow knocked all the boards off the fence in one section of his walkout. So 100% Al's fault and zero percent helper's. But he does now understand why I'm such a psycho about the gate at least. Anyway, alls well that ends well as no one got hurt, and by some grace of divine power or whatever Al didn't run into any cars. 

Eros is doing just fine this week. He got to jump around on Thursday and was great. I was hoping to jump again over the weekend, but since they got shod Saturday, I wound up not doing that. His white line is doing better, but isn't completely gone just yet. 

I've been trying really hard to get him working more on the flat. We've slacked off a little this summer, and I can feel where it's time he gets a stronger again. Not just stronger, but also paying attention to me and not just to the monsters in the woods. I can already see a difference so I think we're back on track. 

Not too much is happening with Shiny. She's going well, today especially. She had both Sunday and Monday off because on Sunday it started pouring buckets after I finished with Al and it never stopped. Monday is her usual day off. Then Tuesday her ride was insanely quick (again, the modeling thing, I promise more on that shortly). So today, I was determined to get her back to working properly. Of course, that stuff is never entirely up to me when it comes to Shiny... So I had to wait for her to warm up before actually accomplishing things. But once we got there, she was actually amazing today. She did shoulder in, haunches in, EXTENDED TROT! I was very proud of her. 

Oh and she did get to jump around on Thursday too. We haven't jumped together much this summer, so I'm excited to get back to it with her. 


Okay, so that's happening with the horses. As for me, I've been keeping busy this week!  I had a horse to braid on Saturday night.

Then on Sunday I set a new course, and got some new fill organized to put out after the rain.  Which I did on Monday. 
New Course

Some new fill, courtesy of the dollar store mostly. 
I need to get more pumpkins and I also need to attach 
them to something as they keep falling over. I think I have 
broken fence board that will work.

And my favorite new fill! I need to get a few more of
these too, but my local dollar store only had these.


They're pretty amazing though, aren't they??

I'm very excited to jump around the new course! I just need to get the fill to stay standing up... Especially the trees. They keep blowing over when I'm on Al and you can imagine how he feels about that!

Oh, also on Saturday my fridge that I just spent a FORTUNE having repaired broke again and I had to throw out all the new food I just bought on Thursday. So that didn't make me happy. Like it's frustrating enough to have to fix everything I own this summer, but now I've fixed most of it twice... It could all stop breaking any time now...

Anyway, I spent literally the entire day on Monday crafting some fun things for Tuesday. Because on Tuesday, all of my horses (and I!) got to be models again for Pinsnickety! I rode in the morning at the other barn, and then got home and organized all of our outfits. Then I braided all three horses. Al dressed up like a hunter while Eros and Shiny dressed up as jumpers. Which is a little backwards, but Al has the most braidable mane so I picked him for hunter braids. Plus I do hope to eventually do some of the adult equitation and medals with him someday so it was good practice for him. Plus he got to wear my fake tail which was a first for him. 

LOOK AT THEM!!!  I cannot wait to get the sneak peak photos. We dressed up like we were at a horse show and it was super fun. Unfortunately, we lost daylight fast and didn't get everything done that we had hoped. So we're going to do another session next month to finish up. I won't be braiding all of them all over again, but it will still be fun. 

So yeah. This past week has been kind of a lot, but mostly it was good stuff. How was your week? Did you all get to do anything fun?

Wednesday, May 19, 2021

What's Up Wednesday


Okay, so let's just address the orange elephant in the room shall we?

"Who me?" -Pammon probably

Yeah. If you follow me on Facebook you probably already saw the news. Pammonypony here has once again managed to wrangle himself more time off. He was unsound for my lesson Tuesday, but fortunately, the vet was scheduled to be at the barn Friday for a few other horses so at least I could get him seen fairly quickly. The news was not good my friends. It's not the worst possible news, but it's still another road block in our journey. A long one. He tore his right hind suspensory. And he tore it pretty good, there's an actual hole in it not just disruption of fibers. The good news is that it is down low, just above the branch. The bad news is that it's a minimum of six months off. Rather than subject him to full stall rest and hand walking, the vet and I have decided to let him go be a horse for six months. He's going to live outside in a field with a couple of other horses and a run in shed. He'll get his regular feed and be lightly supervised (in case he knocks the fence down...) but otherwise will enjoy being a feral animal for a bit. He will be very close to my house so I can visit any time which I am happy about. He will move out there June 1st, and we'll be hand walking, having regular turnout, and icing/wrapping when in until then. 

So what does this really mean you ask? Honestly, I've removed any hopes and dreams from his shoulders. If he gets better, I'll get him going again on the flat. I'll see if my stepmom wants to ride him, and if not, then I'll try and find him a low level dressage home or maybe a short stirrup up to 2' job if we think he can sustain that. Either a lease or a sale to a good home. I just don't think I can keep trying any more with him. My vet is confident he will recover 100%, but even if he does, what will he injure next? He's 14 now, and I just don't think it's fair to expect him to go be my jumper anymore. 

I promise it's not all depressing, gloom and doom over here though. Honestly, it's not. Eros and Shiny are doing great! (Knock on some wood for us though please... let's not tempt fate.) Shiny gave some very important first pony rides last week to my nieces!


She was a SAINT. Seriously. The older one attempted to get on like 50 times. I'm talking foot in the stirrup, right leg partially over and then panic and abort. Over and over. And Shiny just stood there like a rock. Eventually she did get on (as evidenced above) and we walked several circles together. Very slowly. Niece is not the adventurous type, lol! I get it, I was a nervous kid too. The younger one climbed right on (I think to show up her sister) but then immediately informed us she wanted to get down. When we asked her to stay up there and pretend to be happy for a photo, the request increased in volume and shrillness but Shiny still just stood there like a champ. This pony guys. She's a special one. Despite it seeming like both girls might hate riding, they want to come back again this week. So we'll see how that goes I guess? They both very much enjoyed grooming Shiny so at least they weren't terrified to be around her. Baby steps!

Good ponies get bareback snackies

She's been pretty good for me lately too. I was jumping around Saturday and we were somewhat out of control... She was taking me to the jumps, but taking me to nothing and not listening when I asked her to wait for the base. So I let her walk for a second, then went back to canter and really made her keep her back up and poll soft... You know? Canter correctly? And then like magic, she was soft, rideable, and all the distances came right up out of stride. Imagine that? Riding correctly makes the jumps easier? Weird. It goes to show that she's really growing up though. Last year, I never dictated the canter at the jumps. She wasn't strong enough to keep herself together like that and jump at the same time. Nor did she understand how to do that. But now that she's capable, the old method of flailing around to the jumps doesn't work anymore. Amazing. I just really enjoy her and it's icing on the cake to see her becoming a grown up pony. 


Eros is back to being the horse I know and love thanks to the addition of ear plugs. Part of me hates using a crutch like that, but on the other hand if it helps him feel relaxed, what's the harm? We don't show dressage so they're legal for us if we need them. He's back to getting kinda strong when we jump...
But I've been lazy and jumping him in the leather two ring which I know doesn't work for us especially well over fences. I'll use the pletcher bit next time. Despite being in the wrong bit, after him dragging me to a few fences last time we jumped, I had him figure eight over some small cross rails until he got bored and softened and rode nicely to them. Then we called it a day. My plan is to do just that, keep him going and jumping around tiny until it's boring for him. Only then will we make the jumps any bigger. Then once that's boring we can add harder questions. I honestly think he's just really excited to be jumping, so we need to make it not so exciting. There's no rush. Excited to have the freedom to take my time and try a few different things with him on my own to see what works best. 

But look how cute he's jumping this 2' fence!

Which doesn't mean I'm not also super excited for trainer to get back from Florida and come help me with him. I'm both dying to get her on him and see what magic she can work up there, and also excited for her to help me from the ground. I need all the help I can get!

The kids got new snackin' jackets as Shiny outgrew
hers and Eros' never fit right to begin with.

I had another braiding job last weekend. Just one medium pony, mane only. So quick and easy! 


The trainer at this barn is an old friend of mine, and her regular braider seems to me MIA, so I may find myself there more often. Part of me thinks I should start braiding more now that I'm retired... But the other part really enjoys sleeping nights. We'll see what happens! But guys... the wildlife at this barn is intense. I saw a couple mice skittering about (normal, who doesn't have mice?) but it was this spider I found alarming... (Don't scroll down if you have arachnophobia...)
That's my foot for scale. I'm not particularly afraid of spiders (except the ones that can kill me, those are terrifying) but this thing made my uncomfortable. It's enormous! I was glad to be on my ladder while it was walking the floor.

And in news that has nothing to do with me at all but is seriously adorable, there was a promposal at the boarding barn last night! One of the ladies I (used to) ride with in my lessons has a son that decided to prompose from horse back. He's not a rider, but they have a family horse (Buddy) that is saintly so they used him. 
It's a little hard to read, but says:
"I'm not horsing around, PROM?"
(And that's Buddy in the background)

They actually tied the sign around Buddy's neck, the boy climbed aboard, and waited just outside the indoor ring. The girlfriend's parents brought her, blindfolded, through the barn then the indoor and then pulled her blindfold off. It was ADORABLE! They didn't do promposals when I was in high school, but I would have loved it! So, SO cute. The cutest though? The girlfriend's dad petting Buddy's nose, and telling all of us barn rats (in the sweetest way though this sounds condescending, it wasn't) how lucky we are to be around these sweet horses all the time. Like he really was in awe. So sweet. And kind of a nice reminder as I was there icing my broken horse. We really are so lucky, even when it doesn't seem like it.

Friday, May 6, 2016

Braids, Braids, Braids, and more Braids.


I've had a few requests for a post on braiding, so I'm going to give it a shot. I'm definitely not the world's greatest braider, but I hold my own. I learned to braid when I was 11. My riding instructor held a braiding clinic and four of us barn rats signed up. We paired off and got to work learning to braid. I wish I could say I was great at it from the start. But this photo states otherwise...

Clearly George was not happy with his 'do
That was actually a good day... Most days half of them stood straight up. Over the years I've learned a few things from other braiders and I think I've finally found the techniques that work best for me. So let's get started!
I used this adorable pony named Pumpkin Pie as my model. He has a mohawk! But as frightening as that may seem, it's not any harder to braid.


With horses I know, I usually start with the forelock. I do not necessarily suggest this on a horse you don't know. If they haven't been braided much, they may not feel comfortable with you climbing on a ladder in front of them. But if you have an old veteran, they won't mind. I nearly forgot to braid the forelock a few times which is why I like to start there.


Unless the horse is particularly unruly, I prefer to do a french braid for the forelock. I will tell you, it's really ok if your french braid isn't perfect, they usually look fine once you pull the hair up. Try to keep it straight though, even if it's not perfectly even.


You'll notice this isn't the pretties french braid. But it's ok. (I'll show you how to add yarn and tie off the braid when we move on, I should have done that here, but I didn't think to.) You will braid the hair down until you have a short tail on the end of about an inch or less like you see above. You'll then tie off the braid. At this point, you'll need a tool. I use what's called a pull through, which is like a giant sewing needle. (In a pinch, I've used actual sewing needles.)


Some braiders will use a latch hook, but this is what I learned with and what I prefer. So now you'll take your yarn that's hanging from the braid and thread it through your pull through.


Next, you'll thread the pull through up into the braid so that your yarn is now on top of your braid:


You'll then pull your yarn so that the length of the braid pulls up in the french part.


You'll keep pulling it up until the tail of the braid is completely inside the french part.


Next, you're going to feed your pull through across the top of the braid.


You're going to take just one piece of string and thread that through the pull through, and then pull it all the way out.


You'll repeat this step on the other side.


Now you'll simply tie a double knot.


And cut the extra string:

Voila! Forelock is done! You'll see some of his bridle path showing. If it's long enough I try to tie that into the braid. But this time it was not. Likely it will be clipped off before the show anyway by his rider or groom.
Now on to the mohawk mane!
You'll want your mane to be just a couple of inches longer than a pulling comb. Pumpkin Pie's looks longer than that, but it's actually not. Some things to be aware of: If a mane is very thin, you'll want it on the shorter side. If a mane is extremely thick, you'll want it longer. The thicker the braid, the longer it needs to be to pull up nicely. The opposite is true for a thin mane. Pumpkin Pie has a very average type mane. Not too thick, not too thin. The farm I braid at regularly does an excellent job keeping the manes in braidable shape. (Braidable is totally a word.) Jamp's tends to be thick because I don't pull it enough in the winter. And also because he was a stallion for so long.  Ok, let's get back to work!
We're going to need another tool now for the mane. You'll want a clip to hold the extra hair out of your way. This is the type I prefer:


You can find them at almost any drug store or Walmart type store in the hair care department. They usually come in a pack of 4 or 6.  I like these clips with a slightly pointy tip, because they work really well to section the hair.


With this growing out bridle path that Pumpkin Pie has, our first braid will be a little tricky. If you're just learning and practicing, I wouldn't bother trying to make this work, and would just start where the mane is longer. But since I was getting him ready for a show, I needed to get that braided in. With an average mane like he has, you're going to want to take a section that's about an inch or slightly larger wide. When splitting your sections, you want to make sure that you part with a straight line. This is really important for keeping your braids from twisting. If they twist, it's really tough to keep them straight when you tie them up. And you want them straight. Believe me. (Refer to that photo of me riding George above....) Besides straight, you also want to make the braid really tight. That will take practice. Just keep at it! Loose braids won't hold their shape when you tie up. And especially not if your horse rolls in them...


With a very thick mane, you'll want a more narrow section. Or with a very thin mane, the section may need to be closer to an inch and a half or maybe even two inches. You'll divide that inch worth of mane into three sections to start braiding. You're going to want to make sure that the three sections are pretty straight. Most importantly, you want to make sure that each section has hair from the base of the mane. By that I mean the under side. Otherwise once again, you will have twisty braids. And you don't want that! Because Pumpkin Pie has this very short section, I'm going to add yarn right from the start.


I'll do that first by just laying the string across the mane. That part that's covering the hair is the halfway mark of the string. I'll give each section one twist, and then I will fold that extra string down and include it in the braid.


Once that yarn is folded down, you won't even know it's there anymore. It simply adds length and thickness to that short section of the braid. Again, this is pretty advanced, and you don't need to try this when you're first learning. Also, if you always clip your horse's bridle path the same, you won't ever have to worry about this. So now we'll keep braiding until we're about 2/3 of the way down the hair and then we'll add yarn. For this odd little braid though, we're going to add it a little early because that pesky short section is a little awkward. I'll show how to add the yarn on another braid. This one is tricky enough, let's just finish it and move on! Once you're down near the bottom, leaving about an inch of hair, you'll hold all three sections between your left thumb and forefinger. Using your right hand, you'll separate out the yarn, wrap it around the braid and pull it through that loop you made to tie off the braid.


This braid is the worst example to teach on... You'll see that it's all fuzzy at the top and that the extra tail at the bottom is definitely more than inch. This is all because of that wonky section. So we won't harp on it. Let's move on!


I will take another inch sized chunk of hair and split it in three. This time there is no need to add yarn from the start so I'll just start braiding and go about 2/3 of the way down.


Ok, obviously this isn't braid number two... I didn't remember to show how to add yarn until a little later. It was late! Anyway, you'll go about 2/3 down and then you'll prepare to add yarn. Do this by pinching the braid in one hand so you can get your string. You'll want to add it to the two shortest sections you're working with.


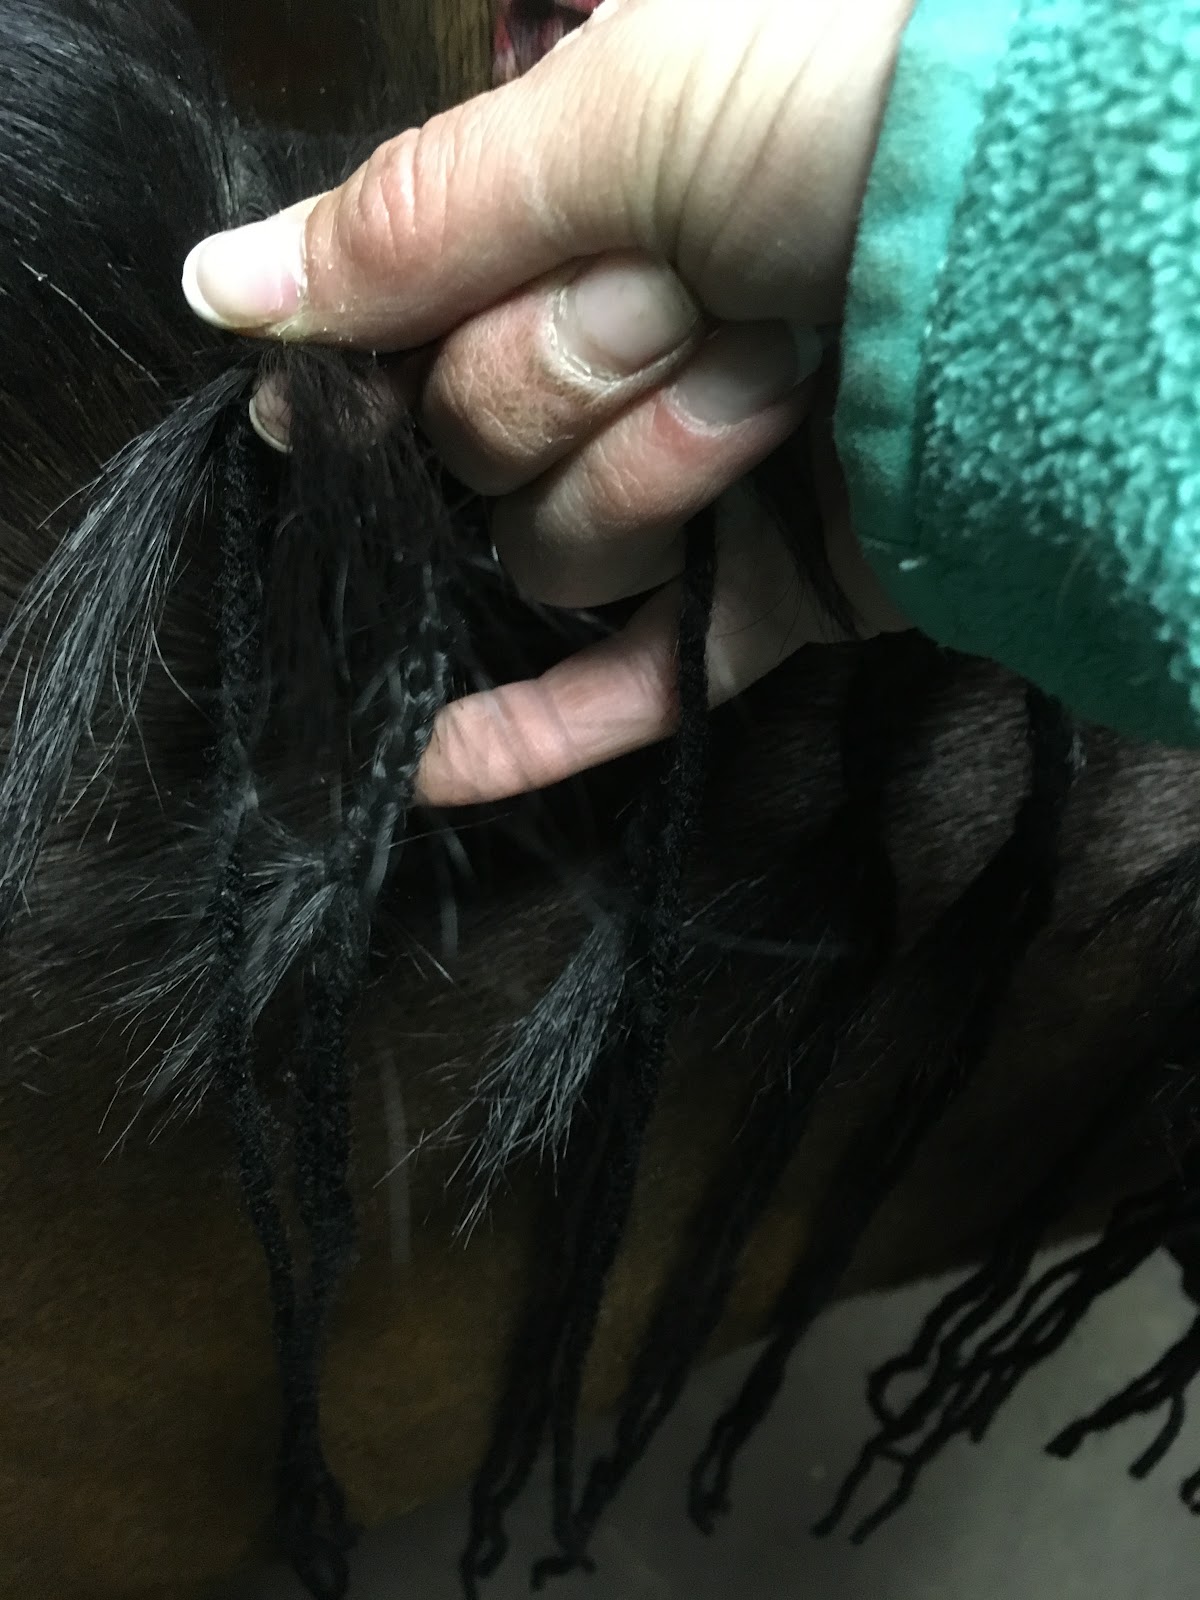
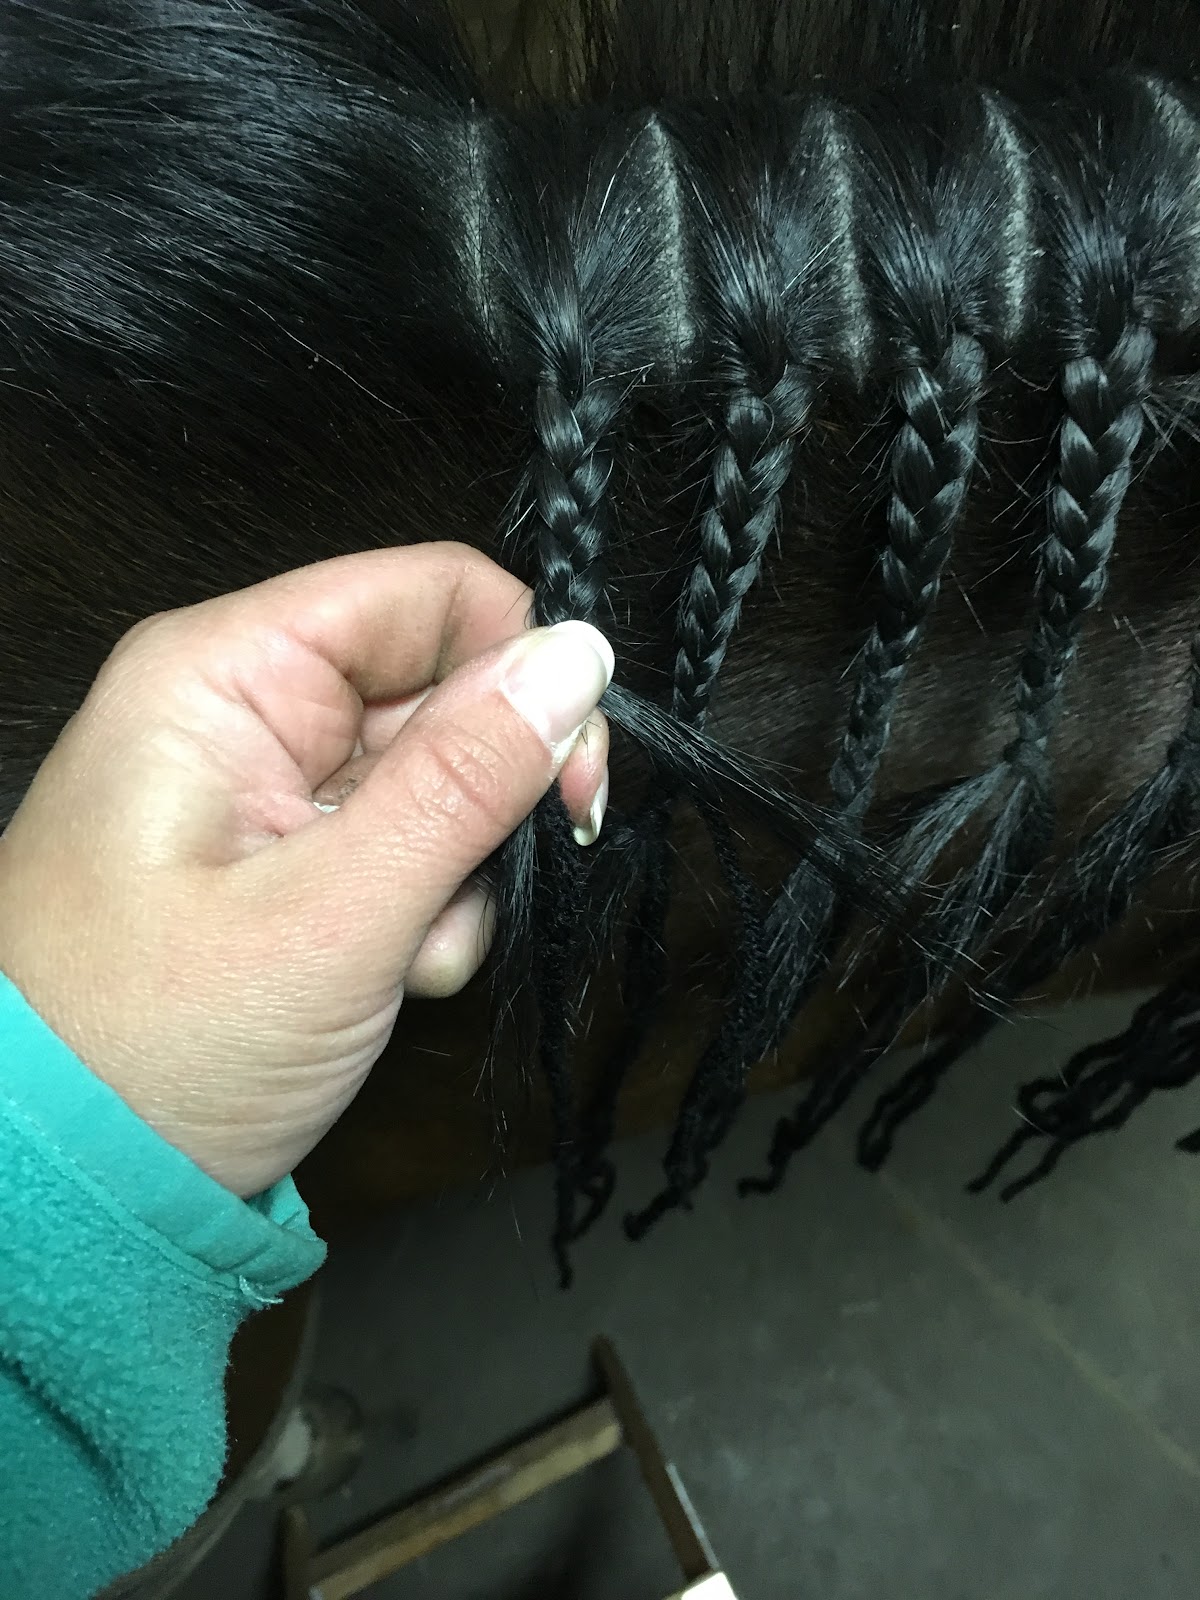
This is ridiculously hard to see with a black mane and black yarn... Sorry. I'll try and explain. So left is pinching the braid as you add the yarn. I like to add it underneath, so I'll slip it under the forefinger. You should be able to keep braiding like it's not even there.


And then you'll tie off the braid like before.


You'll repeat this allllll the way down the neck. A few things to pay attention to while braiding down: as I mentioned earlier, you'll want to straight parts for your sections, and you'll want your sections to be equal in size.


This pony has a lovely uniform mane, but most horses do not. Often when you get down toward the bottom, the mane thins out quite a bit. You may need to take larger sections to keep the braids looking similar.
Now that I've braided all of the mane down, it's time to start pulling the braids up. Time to find that pull through in my pocket...


There are a few different methods to pulling up. Some people do a complete braid at a time. I like to pull the strings through for all of the braids and then tie them off. I start at the bottom and work my way towards the head, but some people like to work the other direction. It's just preference. Makes no difference!


When pulling the yarn through, you're going to want to make sure you're in the middle of the braid. You should be able to find a midpoint that's in between hair sections. You don't really want to try and pull the yarn through the middle of a section. It will be really hard to do and you may break the string. ALSO your braid will probably twist because that won't be in the middle of the braid.


Now the fun part! Tying the braids up! The focus here is on straightness. Much like riding... Ha. Once you've pulled the strings through, You'll want to pull the knot of your braid up INTO the base of the mane. You'll actually feel the knot lock into place. This is why you want your string in between sections of hair, so there's room for the knot to pull up. You'll want to be careful that the little unbraided tail of the braid doesn't pop out and create a little mohawk.  If that happens, just pull the braid down and the knot out of the mane, and try again.


Next you will split the strings apart. And tie a very loose knot.


You will bring that loop with the knot underneath the braid, and pull tight.


Now is an important step. This is when you "bump" the braid. First, you'll need to tie a surgeons knot. You'll wrap the yarn around twice to do this. So first wrap (normal knot):


Then wrap once more:


What this will do is make the knot really secure. This way you don't have to try and hold a loose knot while keeping your braid straight. This surgeons knot will just hold itself once you pull tight. You're going to want to position the knot a little below the halfway point of your braid. When you pull tight, your braid will bump up.


Once you've done this, you're nearly done with your braid! I will tie the string once under the braid, then once on top again, and then twice more underneath before cutting the strings.


If you have any unbraided tail sticking out, you can usually tie it into that underneath knot and it will disappear from view. You'll continue tying the braids up until you're done. Some things to look for while tying up: STRAIGHTNESS! You want the braids to be straight up and down. No twisting or leaning. Also, and this is pretty hard to do, and where my braids tend to fall a little short of the full time professional's, you want the bottoms of all the braids to be in a smooth line, as well as the strings in the middle. Sounds easy. But it's really not!


I hope this was helpful! I think I could have used some more and better photos, but I didn't have anyone there to take pictures for me. Some parts would be easier to show if I could have been using both hands in the picture.

Feel free to ask any question in the comments section and I'll do my best to answer them.